


Please note that web scraping, the process of extracting data from websites, may have legal and ethical implications. The purpose of this article is purely for educational and research purposes, aimed at understanding the concepts and techniques involved in creating a job-search helper using Puppeteer, Node.js, and Mongoose.
It is important to respect the terms of service and policies of websites you scrape data from. Before engaging in any web scraping activities, we highly recommend reviewing the legalities and regulations regarding web scraping in your jurisdiction and obtaining proper permissions or authorizations if required.
The information provided in this article should not be interpreted as encouragement or endorsement to engage in any unauthorized or unethical scraping practices. The responsibility for any web scraping activities lies solely with the individuals involved.
Always remember to act responsibly, be mindful of privacy concerns, and adhere to the laws and guidelines governing web scraping.
With that out of the way - This isn't a deep dive into Puppeteer, Mongoose, JavaScript or web-scraping in general. So I recommend if you get stuck or don't understand something or I made a mistake then reach out or try the docs they are always a great resource and a good place to start.
Introduction:
One thing that really really annoys me with job sites like seek.com.au, LinkedIn, and the rest is how bad the quality of search results is. So often I get jobs for Senior Devs with tech stacks and locations that boggle the mind.
So, fortunately, technology offers a solution to this problem. By leveraging the power of automation and web scraping, we can create a job search helper that will revolutionize the way you find your dream job.
In this blog post, we will explore the process of building a job search helper using Puppeteer, Node.js, and Mongoose. Puppeteer, a Node.js library, allows us to automate web browsing tasks, while Node.js provides the runtime environment for our application. Mongoose, on the other hand, helps us store and manage the job listings we scrape.
By the end of this series of posts, you will have a powerful tool at your disposal, capable of scraping job listings, extracting relevant information, and even notifying you about new opportunities. So, let's dive in and discover how you can create your very own job search helper that will save you time and effort in your quest for the perfect job.
Section 1: Understanding Puppeteer and Mongo
Puppeteer Docs: https://pptr.dev/
Puppeteer is a powerful Node.js library that allows us to automate web browsing tasks by controlling a headless Chrome or Chromium browser. It provides a high-level API that enables us to interact with web pages, simulate user actions, and extract data through web scraping. Puppeteer's ease of use and rich functionality make it an excellent choice for building our job search helper.
List of cool things that it can do
Navigation
Data Extraction
Screenshots and PDF Generation
Mongo Docs: https://www.mongodb.com/docs/
Setup your account: https://www.mongodb.com/cloud/atlas/register
MongoDB, the cool and versatile NoSQL database, is here to turbocharge our job search helper project! With its flexible document model, MongoDB lets us store and manage the job listings we scrape in a breeze.
No more rigid tables or structured schemas to worry about – MongoDB embraces the chaos and adapts to the ever-changing job market. Want to filter job listings based on specific criteria? MongoDB's powerful querying abilities have got your back! Plus, its scalability ensures our job search helper can handle a growing mountain of job listings without breaking a sweat. So, fasten your seatbelt, because MongoDB is about to take our job search helper to new heights of awesomeness!
Section 2: Setting Up the Node.js Environment
Setup your folder
mkdir demo-scrape
cd demo-scrape
Bring in your npm goodness
npm init
Follow the prompts, then add the type modules so we can use the ES6 imports + add the start in the scripts so we can run it later. You should end up with a package.json file something like this
{
  "name": "demo-scrape",
  "version": "1.0.0",
  "description": "an automated scraper",
  "main": "index.js",
  "scripts": {
    "test": "test",
    "start": "node index.js"
  },
  "author": "",
  "license": "ISC",
  "type": "module",
  "dependencies": {
    "puppeteer": "^20.5.0"
  }
}
Section 3: Configuring Puppeteer and Navigating Web Pages
Ok, now for the puppeteer part
Go to the docs https://pptr.dev/#installation if you get lost or have trouble
Im using npm so its
npm i puppeteer
Your project should look like this now
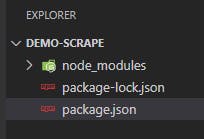
Ok, now we need somewhere to store our instructions. Feel free to tweak the structure as you see fit im going to try and make this as simple as possible
Create an index.js file in the root and add this code
import puppeteer from "puppeteer"; // Importing the Puppeteer library for web scraping
import constants, { KEYWORDS } from "./utils/constants.js"; // Importing constants and keywords from the constants module

const jobTitle = "junior web developer"; // Setting the job title to search for.
const jobLocation = "Work from home"; // Setting the job location to search for
const searchUrl = constants.SEEK_URL + jobTitle + "-jobs?where=" + jobLocation; // Constructing the search URL

export default async function runJobScrape() {
  const browser = await puppeteer.launch({
    headless: false, // Launch Puppeteer in non-headless mode (visible browser window)
    args: ["--no-sandbox"], // Additional arguments for Puppeteer
  });

  const page = await browser.newPage(); // Create a new page in the browser

  await page.goto(constants.SEEK_URL); // Navigate the page to the SEEK website URL
  await page.click(constants.KEYWORDS); // Click on the search input field for keywords
  await page.keyboard.type(jobTitle); // Type the job title into the search input field
  await page.click(constants.LOCATION); // Click on the search input field for location
  await page.keyboard.type(jobLocation); // Type the job location into the search input field
  await page.click(constants.SEARCH); // Click the search button
  await new Promise((r) => setTimeout(r, 2000)); // Wait for 2 seconds (delay)

  // await page.screenshot({ path: "./src/screenshots/search.png" });
  // Take a screenshot of the search results page (optional)

  let numPages = await getNumPages(page); // Get the total number of pages in the search results
  console.log("getNumPages => total: ", numPages);

  const jobList = []; // Create an empty array to store job information when we loop through the search results pages

  for (let h = 1; h <= numPages; h++) {
    let pageUrl = searchUrl + "&page=" + h; // Construct the URL for the current page of search results
    await page.goto(pageUrl); // Navigate the page to the current search results page
    console.log(`Page ${h}`); // log the current page number to console for visibility

    // Find all the job elements on the page
    const jobElements = await page.$$(
      "div._1wkzzau0.szurmz0.szurmzb div._1wkzzau0.a1msqi7e"
    );

    for (const element of jobElements) {
      const jobTitleElement = await element.$('a[data-automation="jobTitle"]'); // Find the job title element
      const jobUrl = await page.evaluate((el) => el.href, jobTitleElement); // Extract the job URL from the job title element

      // Extract the job title from the element
      const jobTitle = await element.$eval(
        'a[data-automation="jobTitle"]',
        (el) => el.textContent
      );

      // Extract the job company from the element
      const jobCompany = await element.$eval(
        'a[data-automation="jobCompany"]',
        (el) => el.textContent
      );

      // Extract the job details from the element
      const jobDetails = await element.$eval(
        'span[data-automation="jobShortDescription"]',
        (el) => el.textContent
      );

      // Extract the job category from the element
      const jobCategory = await element.$eval(
        'a[data-automation="jobSubClassification"]',
        (el) => el.textContent
      );

      // Extract the job location from the element
      const jobLocation = await element.$eval(
        'a[data-automation="jobLocation"]',
        (el) => el.textContent
      );

      // Extract the job listing date from the element
      const jobListingDate = await element.$eval(
        'span[data-automation="jobListingDate"]',
        (el) => el.textContent
      );

      // Now we check if the job details contain any of the keywords that we set out in utils/constants.js
      // Ive done this as an exmaple to show when you store the jobs in the database, you can use the keywords to filter the jobs
      // or use the keywords for other data related uses/analysis.

      const jobDetailsHasKeywords = KEYWORDS.filter((keyword) =>
        jobDetails.toLowerCase().includes(keyword.toLowerCase())
      );

      // the job salary is not always available, so we need to check if it exists before we try to extract it
      let jobSalary = "";

      try {
        jobSalary = await element.$eval(
          'span[data-automation="jobSalary"]',
          (el) => el.textContent
        );
      } catch (error) {
        // return an empty string if no salary is found for the job, we don't want to throw an error
        jobSalary = "";
      }
        // this will be the MongoDB schema later on
      const job = {
        title: jobTitle || "",
        company: jobCompany || "",
        details: jobDetails || "",
        category: jobCategory || "",
        location: jobLocation || "",
        listingDate: jobListingDate || "",
        salary: jobSalary || "",
        dateScraped: new Date(),
        url: jobUrl || "",
        keywords: jobDetailsHasKeywords || [],
      };

      // verifiy the job object has been created correctly inside the loop
      console.log("Job elements loop => Job", job);

      jobList.push(job);
    }
  }

  // insert the jobs into the database
  for (const job of jobList) {
    // await insertJob(job);
    console.log("jobList loop => This is the current job:", job);
  }

  await browser.close();
}

// borrowed from https://github.com/ongsterr/job-scrape/blob/master/src/job-scrape.js

async function getNumPages(page) {
  // Get the selector for the job count element from the constants
  const jobCount = constants.JOBS_NUM;

  // Use the page's evaluate function to run the following code in the browser context
  let pageCount = await page.evaluate((sel) => {
    let jobs = parseInt(document.querySelector(sel).innerText); // Get the inner text of the job count element and convert it to an integer
    let pages = Math.ceil(jobs / 20); // Calculate the number of pages based on the total job count (assuming 20 jobs per page)
    return pages; // Return the number of pages
  }, jobCount);

  return pageCount; // Return the total number of pages
}

// right now we run this here, later we move it
runJobScrape();
Then we want to create a utils folder and constants.js file, and then your project should look like this

The code in the constants.js is borrowed from this post
I hadn't used Object.freeze() before so i looked it up
Object.freeze() is a method that makes an object immutable, preventing any changes to both the object's properties and its reference. In contrast, when an object is declared as const, it restricts changes only to the reference, allowing modifications to its properties.
The advantages of using Object.freeze() include ensuring immutability, maintaining data integrity, and facilitating error detection. Freezing an object prevents accidental modifications, ensuring the stability of its values. This is particularly useful when dealing with constants or configurations that should remain unchanged. Additionally, attempting to modify a frozen object or its properties will result in an error in strict mode, making it easier to detect and prevent unintended changes.
I feel like this might be overkill - but hey i learned something new and i like it so im leaving it in.
export default Object.freeze({
  SEEK_URL: "https://www.seek.com.au/",
  KEYWORDS: "#keywords-input",
  LOCATION: "#SearchBar__Where",
  SEARCH: "#searchButton",
  JOB_CONTAINER: "div._1wkzzau0.szurmz0.szurmzb",
  //   JOB_TITLE: "div._365Hwu1 > article:nth-child(INDEX)",
  JOB_TITLE: 'a[data-automation="jobTitle"]',
  JOB_COMPANY: 'a[data-automation="jobCompany"]',
  JOB_DETAILS: 'span[data-automation="jobShortDescription"]',
  JOB_CATEGORY: 'a[data-automation="jobSubClassification"]',
  JOB_LOCATION: 'a[data-automation="jobLocation"]',
  JOB_LISTING_DATE: 'span[data-automation="jobListingDate"]',
  JOB_SALARY: 'span[data-automation="jobSalary"]',
  JOBS_NUM: "#SearchSummary > h1",
});

export const KEYWORDS = [
  "react",
  "javascript",
  "vue",
  ".net",
  "php",
  "java",
  "azure",
  "aws",
  "python",
  "angular",
  "node.js",
  "html",
  "css",
  "typescript",
  "docker",
  "kubernetes",
  "sql",
  "mongodb",
  "git",
  "agile",
  "scrum",
  "devops",
  "aws lambda",
  "aws s3",
  "aws ec2",
  "aws cloudformation",
  "aws dynamodb",
  "aws rds",
  "azure functions",
  "azure storage",
  "azure cosmos db",
  "azure devops",
  "azure sql database",
  "java spring",
  "java hibernate",
  "python django",
  "python flask",
  "react native",
  "angular",
  "angular 2+",
  "typescript",
  "html5",
  "css3",
  "sass",
  "less",
  "webpack",
  "babel",
  "rest api",
  "graphql",
  "microservices",
  "agile",
  "remote",
  "work from home",
];
ok now go to the root and in the console run the project
node index.js
you should see the puppeteer browser pop up
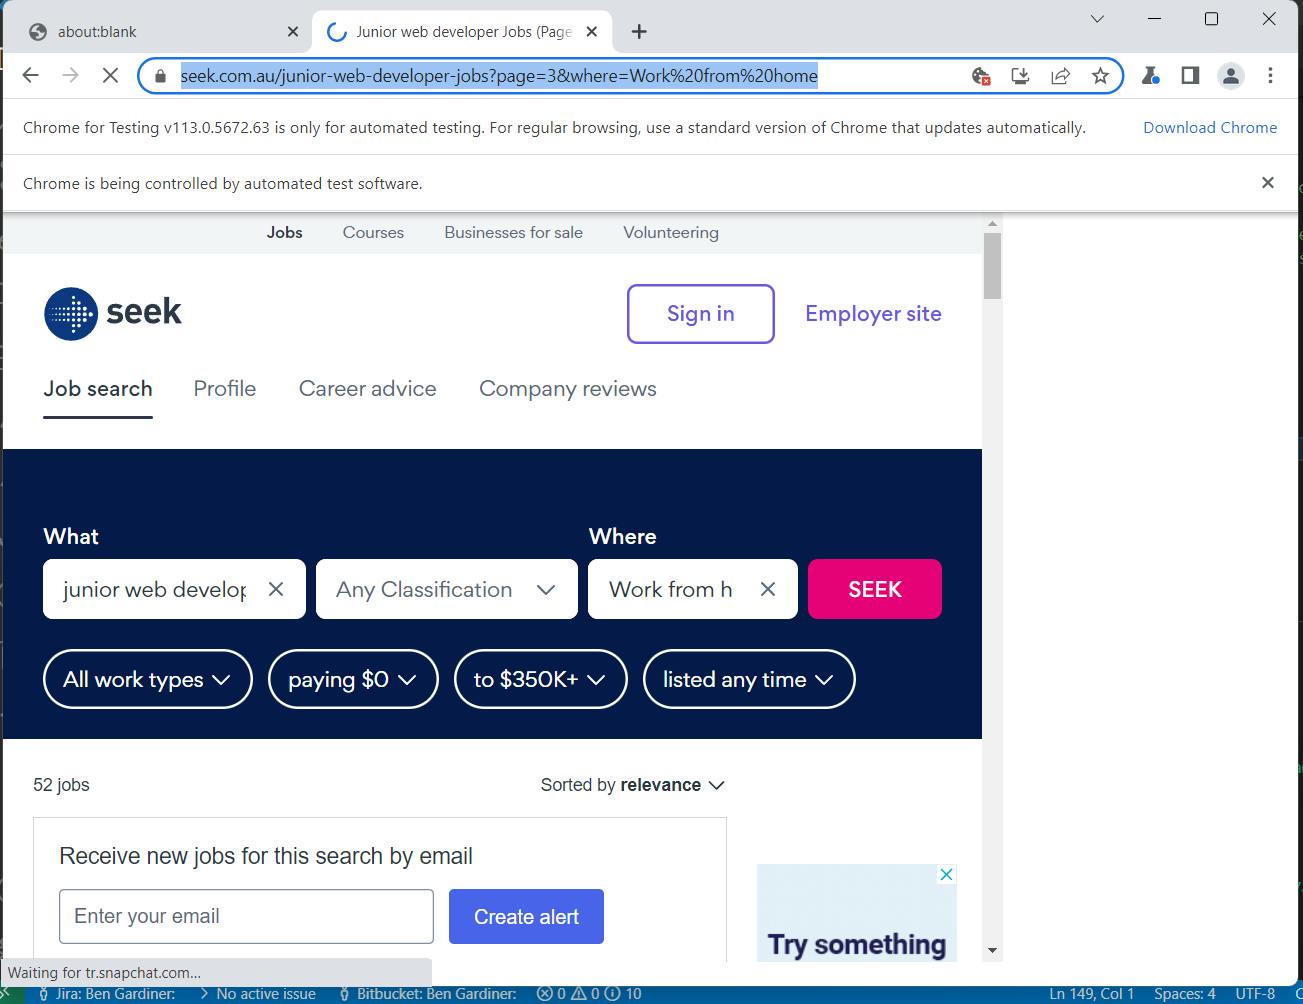
and get a bunch of data in your console window like this
jobList loop => This is the current job: {
  title: 'Front End Architect | React | Javascript Tech Lead',
  company: 'PRA',
  details: 'Use your experience setting up React Frameworks from scratch in enterprise environments, to join this CBD based org in an exciting new project!',
  category: 'Engineering - Software',
  location: 'Brisbane QLD',
  listingDate: '17d ago',
  salary: '',
  dateScraped: 2023-06-08T10:58:20.334Z,
  url: 'https://www.seek.com.au/job/67626659?type=standard#sol=03002d0b64be9fa486bbfcdb7a98ab19ee0c88dc',
  keywords: [ 'react' ]
}
We can see that the script is working and the keywords are functioning correctly, although it missed the "javascript" in "Javascript Tech Lead" due to the way it was implemented. However, fixing this issue will be an easy task for later.
On a side note about the job object mentioned earlier, it will play a crucial role as the schema for our database in the future. The inclusion of the listing date and date scraped fields is particularly important due to the nature of Seek jobs being removed after 30 days. These fields will enable us, in the upcoming second part of this series, to perform calculations and determine if a job listing has gone stale.
With the completion of part 1, we now have our scraper successfully operational, retrieving valuable job data. The foundation has been laid, and we are ready to move forward with the next steps. In part 2, we will explore how to efficiently store the extracted data using Mongoose and MongoDB, and how to build robust search functionalities for an enhanced job-search experience.
Stay tuned for the continuation of this series as we delve deeper into the implementation details and uncover exciting ways to optimize our job-search helper. Happy coding!
Articles and repos I used for reference and inspiration